How to Select Contact Rivets for Relay Manufacturing
Selecting the right contact rivets is one of the most critical decisions in relay manufacturing. The contact material, geometry, and mounting method directly determine the relay’s electrical life, switching performance, temperature rise, and compliance with international standards.
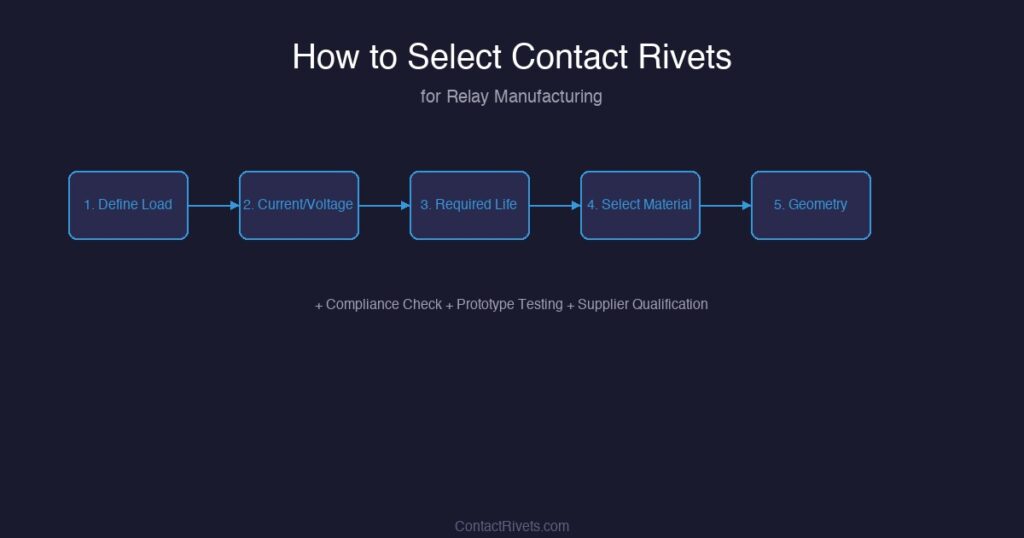
This step-by-step guide walks you through the key selection criteria.
—
Step 1: Define the Electrical Load
| Load Type | Characteristics | Recommended Material |
|---|---|---|
| Resistive | Steady current, no inrush | AgNi or AgSnO2 92/8 |
| Inductive (motor) | 6–10× inrush, high arc energy | AgSnO2 90/10 or 88/12 |
| Lamp | 10–15× inrush, short duration | AgSnO2Bi2O3 90/10 |
| Capacitive | Very high inrush | AgSnO2 88/12 or AgW |
| DC | No zero-crossing | AgSnO2 or AgC |
—
Step 2: Determine Current and Voltage Ratings
- Rated current: Continuous current when closed
- Switching current: Current interrupted during normal operation
- Inrush current: Peak current during closure (critical for material selection)
- Voltage: AC or DC; DC requires larger gaps and harder materials
Rule of thumb: For switching currents >10A or inrush >3× rated, specify AgSnO2.
—
Step 3: Calculate Required Electrical Life
| Application | Typical Life Requirement |
|---|---|
| Consumer appliance | 10,000–50,000 operations |
| Industrial relay | 100,000–500,000 operations |
| Automotive | 100,000–1,000,000 operations |
| Aerospace / critical | 1,000,000+ operations |
—
Step 4: Select Contact Material
- Resistive, low current: AgNi
- Inductive, high inrush: AgSnO2
- DC switching: AgSnO2 or AgC
- Very high current / fault duty: AgW
- Signal / low voltage: Pure silver
—
Step 5: Specify Contact Geometry
| Parameter | Typical Range | Selection Guidance |
|---|---|---|
| Head diameter | 2.5–8.0 mm | Larger for higher current |
| Face thickness | 0.3–0.7 mm | Thicker for longer life |
| Shank diameter | 1.2–4.0 mm | Matched to carrier hole |
| Head shape | Round / flat / radius | Round for general use |
—
Step 6: Choose Construction Type
- Bimetal: Standard for most applications; cost-effective
- Solid: High-current or specialized applications
- Trimetal: Aerospace or extreme thermal cycling
—
Step 7: Verify Compliance
- RoHS: Ensure cadmium-free materials for EU market
- REACH: Verify SVHC compliance
- UL / IEC: Confirm materials are accepted for agency-listed relays
- Automotive: ELV compliance for vehicle applications
—
Step 8: Validate with Testing
Before production release, validate through electrical life testing, temperature rise testing, contact resistance measurement, welding resistance testing, and environmental testing.
—
Quick Reference Checklist
- Load type identified
- Current and voltage ratings defined
- Required electrical life specified
- Contact material selected
- Contact geometry specified
- Construction type chosen
- Regulatory compliance verified
- Prototype testing completed
- Supplier qualified and samples approved
—
Conclusion
Selecting contact rivets for relay manufacturing requires a systematic approach that considers electrical load, life requirements, material properties, geometry, and regulatory compliance.
At ContactRivets, we provide technical support for contact selection, material samples for qualification testing, and high-volume production of standard and custom contact rivets.
—